If you’ve been looking for an inexpensive way to run your own observability stack while maintaining complete control over your data and its security, look no further. The Apica PaaS Community Edition is officially live!
With the Apica PaaS Community Edition, you can:
- Self-host your observability stack on a cloud provider of your choice – public or private
- Ingest up to 50GB of log data per day with unlimited data retention
- Store your log data on any S3-compatible cloud provider via the built-in Minio S3 service
- Ingest logs from Syslog, RSyslog, Logstash, Fluent, AWS Firelens, JSON, and plenty more
- Run up to 4 ingest worker processes
You’ll also get access to all of the Apica Enterprise Edition’s features along with Community Support, free forever.
What’s more? Deploying Apica PaaS is ridiculously easy! This article will show you exactly how you can deploy the Apica PaaS Community Edition on your Kubernetes cluster.
Before you begin
To get you up and running with the Apica PaaS Community Edition quickly, we’ve made Apica PaaS’ Kubernetes components available as Helm Charts. To deploy Apica PaaS, you’ll need access to a Kubernetes cluster and Helm 3.
Before you start deploying Apica PaaS, let’s run through a few quick steps to set up your environment correctly.
Add the Apica Helm repository
Add Apica’s Helm repository to your Helm repositories by running the following command.
helm repo add Apica-repo https://Apicaai.github.io/helm-chartsThe Helm repository you just added is named Apica-repo. Whenever you install charts from this repository, ensure that you use the repository name as the prefix in your install command, as shown below.
helm install <deployment_name> Apica-repo/<chart_name>You can now search for the Helm charts available in the repository by running the following command.
helm search repo Apica-repoRunning this command displays a list of the available Helm charts along with their details, as shown below.
$ helm repo update
$ helm search repo Apica-repo
NAME                CHART VERSION    APP VERSION    DESCRIPTION
Apica-repo/Apica    2.2.11           2.1.11         Apica Observability HELM chart for Kubernetes
If you’ve already added Apica’s Helm repository in the past, you can update the repository by running the following command.
helm repo updateCreate a namespace to deploy Apica PaaS
Create a namespace where we’ll deploy Apica PaaS by running the following command.
kubectl create namespace ApicaRunning the command shown above creates a namespace named Apica. You can also name your namespace differently by replacing Apica with the name of your choice in the command above. In case you do, remember to use the same namespace for the rest of the instructions listed in this guide.
Important: Ensure that the name of the namespace is not more than 15 characters in length.
Prepare your Values file
Just as any other package deployed via Helm charts, you can configure your LOGIG PaaS deployment using a Values file. The Values file acts as the Helm chart’s API, giving it access to values to populate the Helm chart’s templates.
To give you a head start with configuring your Apica deployment, we’ve provided sample values.yaml files for small, medium, and large clusters. You can use these files as a base for configuring your Apica deployment. You can download these files from the following links.
- values.small.yaml for small clusters.
- values.medium.yaml for medium clusters.
- values.large.yaml for large clusters.
You can pass the values.yaml file with the helm install command using the -f flag, as shown in the following example.
helm install Apica --namespace Apica --set global.persistence.storageClass=<storage_class_name> Apica-repo/Apica -f values.small.yamlRead and accept the EULA
As a final step, you should read our End User’s License Agreement and accept its terms before you proceed with deploying Apica PaaS.
Latest Apica PaaS component versions
The following table lists the latest version tags for all Apica components.
| Image | Version |
|---|---|
Apica-flash |
2.1.11.27 |
coffee |
2.1.17.4 |
Apica Helm chart |
2.2.11 |
Install Apica PaaS
Now that your environment is ready, you can proceed with installing Apica PaaS in it. To install Apica PaaS, run the following command.
helm install Apica --namespace Apica --set global.persistence.storageClass=<storage class name> Apica-repo/ApicaRunning the above command installs Apica PaaS and exposes its services and UI on the ingress’ IP address. Accessing the ingress’ IP address in a web browser of your choice takes you to the Apica PaaS login screen, as shown in the following image.
If you haven’t changed any of the admin settings in the values.yaml file you used during deployment, you can log into the Apica PaaS UI using the following default credentials.
- Username:
[email protected] - Password:
flash-password
Note: You can change the default login credentials after you’ve logged into the UI.
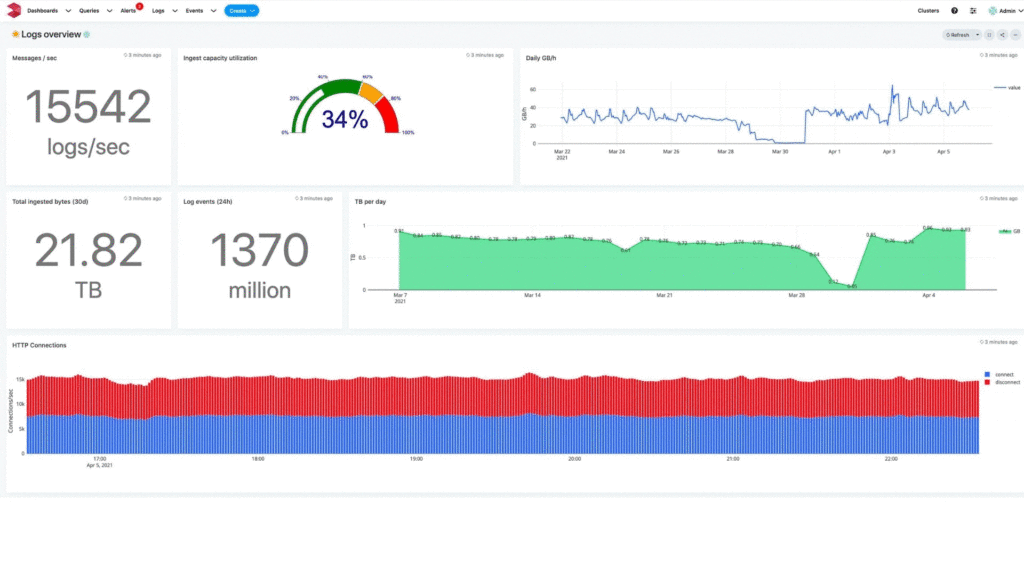
Your Apica PaaS instance is now deployed and ready for use. Your Apica instance enables you to ingest and tail logs, index and query log data, and provides search capabilities. Along with the Apica UI, you can also access these features via Apica’s CLI.
Now that you have full access to your very own Apica PaaS instance, you should try using it to amplify your observability practices. You can use Apica to observe your Kubernetes clusters, set up centralised observability for your CI/CD pipelines, monitor your applications and infrastructure, or even tail and analyse logs from AWS CloudWatch or other data sources – all without the pricing shock that the usual log management and analysis solutions provide.
Do reach out to us if you’d like to know more about how Apica PaaS can help you deliver always-on applications and infrastructure at scale through efficient log management and analysis.


